When considering wall removal in your home, especially as part of a remodeling project to create an open-layout, one of the most crucial aspects to address is the structural integrity of the building. Ensuring that the stability and safety of your home remain intact after removing a wall is paramount, and failing to do so can result in significant risk to both the structure of the home and the safety of its occupants.
Understanding the type of wall you’re dealing with is the first step. Walls in a house are categorized as either load-bearing or non-load-bearing, with load-bearing walls being integral to the overall structure and support of the building. These walls carry the weight of floors, roof, and other structures above them. An informed DIY enthusiast or homeowner working with a contractor should start with assessing which walls are safe to remove without compromising the home’s stability. Agencies like the American Society of Home Inspectors (ASHI) recommend consulting an engineer or a qualified contractor to identify load-bearing walls accurately (source: ASHI.org).
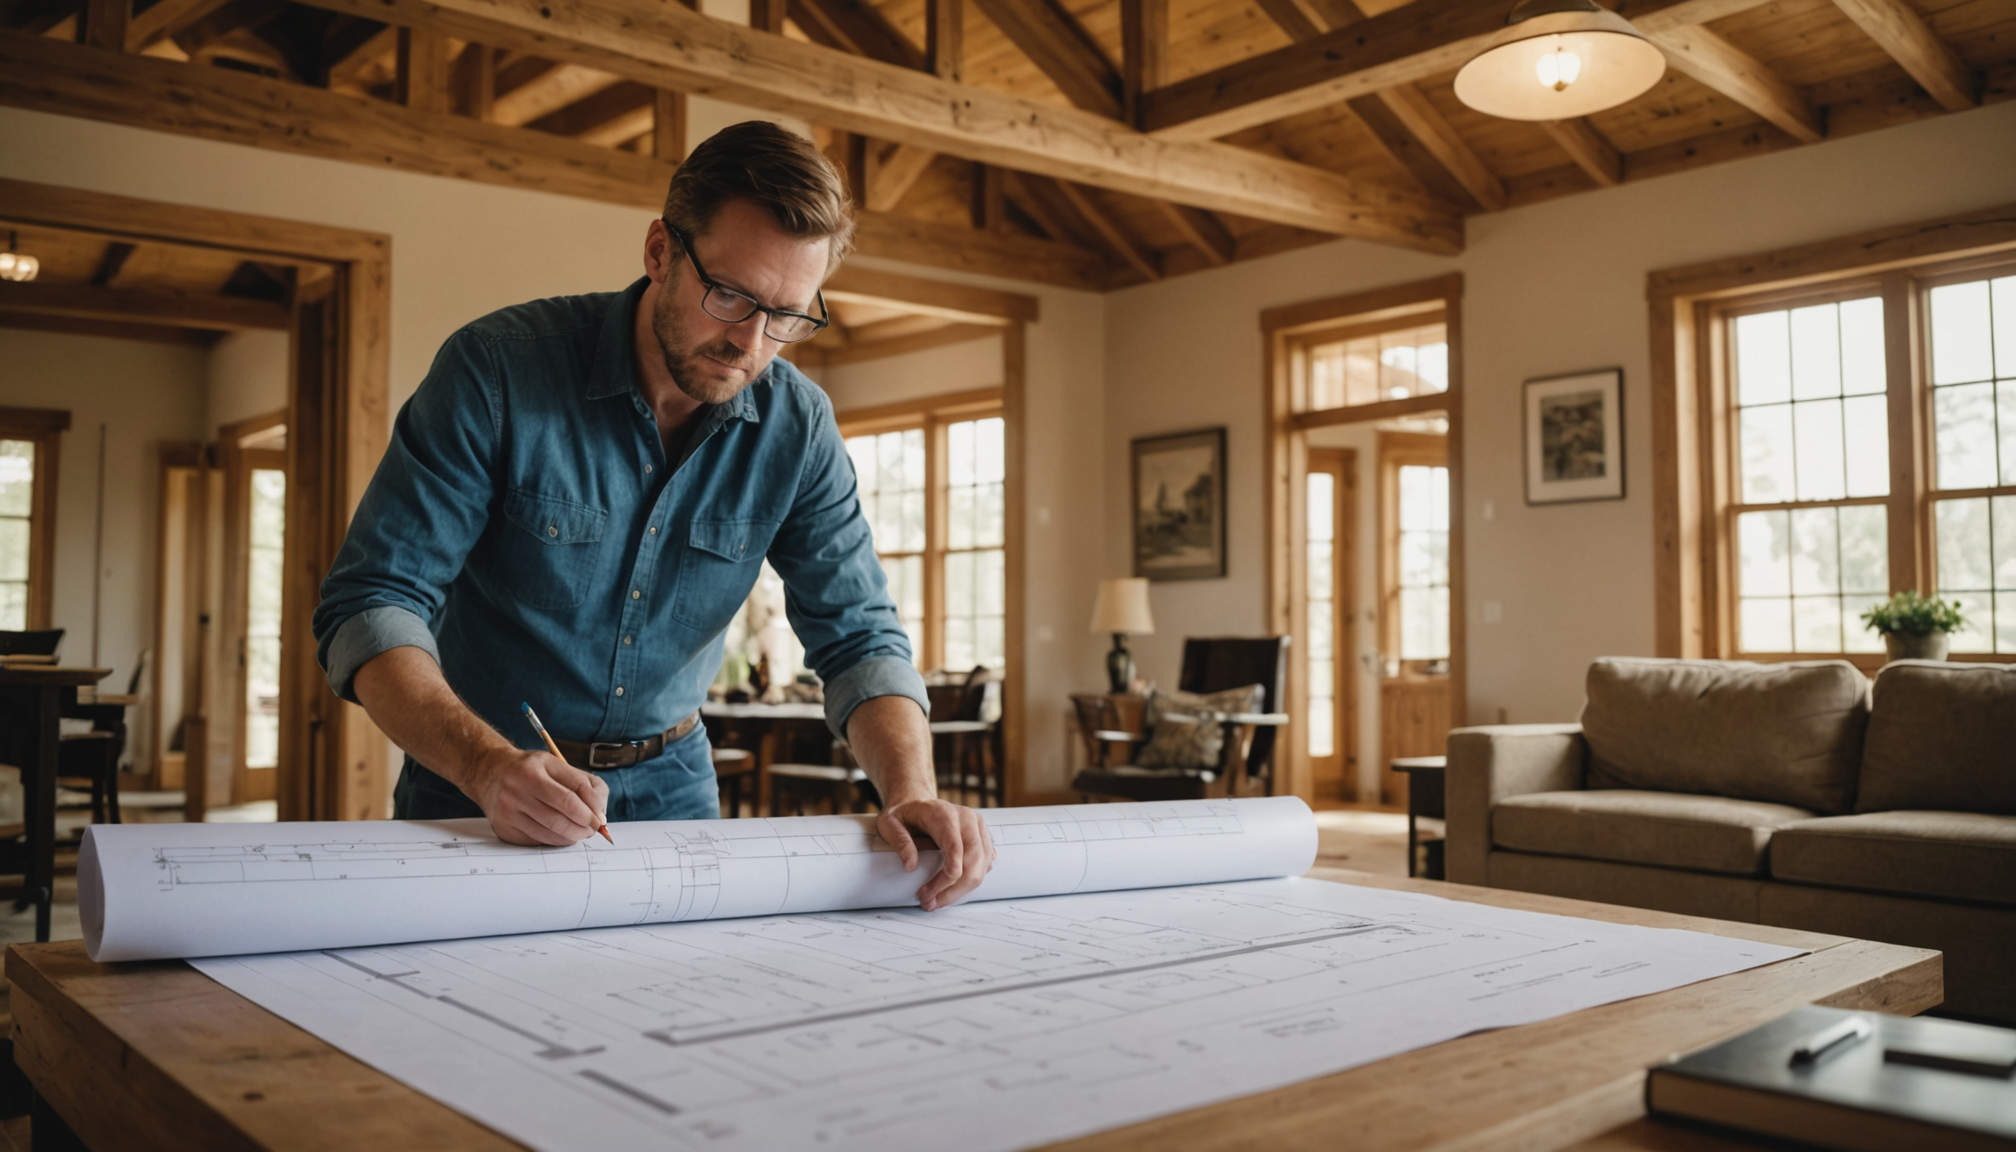
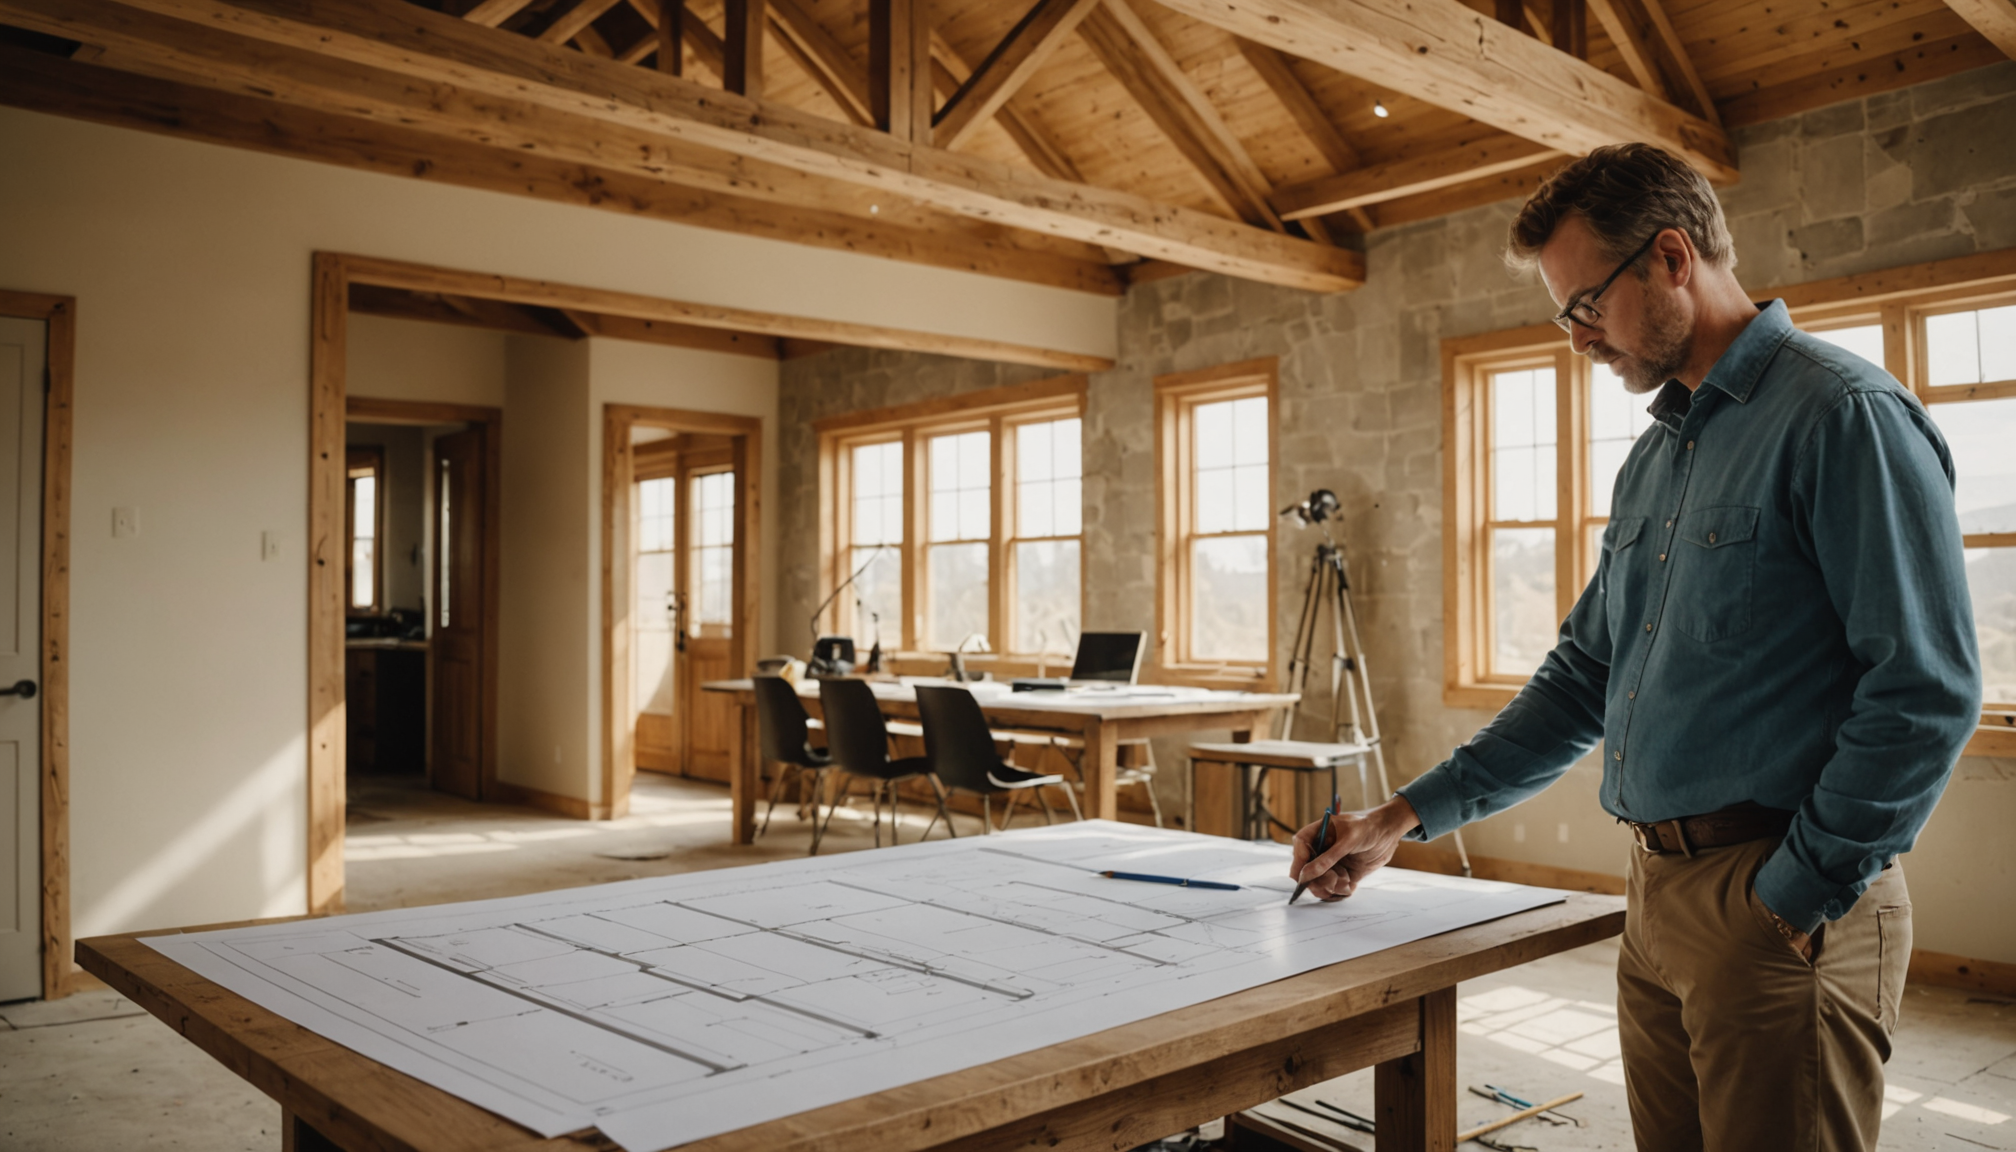
Before removing or altering any wall, it’s essential to understand the structural blueprint of the house. Many houses adhere to different construction styles and methodologies, meaning solutions should be case-specific. For instance, in open-layout floor plans becoming increasingly popular in modern homes, removing walls not only involves simple demolition but also, quite often, the installation of structural supports like beams or columns to redistribute the load. This requirement underscores the sophisticated balance between design desires and architectural integrity, highlighting the importance of expert consultations.
When creating more space, key structural considerations extend beyond the walls themselves. For example, you need to account for any electrical wires, plumbing, or ductwork that could be disrupted during the process. Carefully reviewing building plans and consulting with relevant professionals can mitigate risks of unnoticed and significant issues such as electrical shorts or leaks. Moreover, since building codes differ widely between regions, compliance with local building codes and guidelines is not just recommended—it’s a legal necessity to ensure both the legality and safety of your renovation (source: National Association of Home Builders).
Moreover, practical remodeling tips include assessing what lies above and below the wall in question. If a wall runs perpendicular to the floor joists in a multi-story home, it is more likely to be load-bearing. In homes where walls are used to brace against structural elements like staircases or chimneys, removing a wall could also weaken the home’s framework. Proper planning and replacement of support systems alleviate such challenges, allowing homeowners to safely enjoy their newly created spaces.
Ultimately, wall removal and the creation of open-concept living spaces offer the opportunity to modernize and enhance the functionality of your home. However, navigating the intricate dance between aspiration and architecture demands cautious planning, an informed approach, and adherence to expert advice. Engaging with structural experts not only assures a successful remodel but also provides peace of mind that your open layout is as safe as it is stylish.
tools and materials needed
Successfully executing a wall removal project to achieve an open layout in your home demands careful preparation and the right set of tools and materials. The assemblage of appropriate gear not only enhances efficiency but also minimizes potential mishaps during the process. Whether undertaking a DIY endeavor or working alongside professionals, having a comprehensive understanding of the essential tools and materials will ensure smoother progress and help mitigate challenges that may arise.
First and foremost among the necessary tools is a suitable hammer and pry bar. These are fundamental for loosening nails and separating wall components. These tools are the foundational elements for any demolition task, ideal for breaking through drywall and prying apart sections of the framework. To accurately measure and mark areas for removal, a robust measuring tape and carpenter’s pencil are also required, ensuring precision and helping to avoid structural damage you hadn’t planned for.
Another essential tool is a reciprocating saw, invaluable for cutting through drywall and wooden studs alike. This power tool’s versatility makes it perfect for intricate cutting tasks without causing unnecessary damage to adjoining areas. Also, including a stud finder in your toolkit will aid in locating the framework beneath the drywall, a critical step in determining how to proceed safely, especially when working on load-bearing walls. This tool prevents inadvertently compromising the structure by cautioning the user where critical support resides.
Personal safety cannot be overlooked, and equipping yourself with protective gear is crucial. Safety goggles, a dust mask, and strong gloves protect against potential hazards like flying debris, airborne particles, and sharp edges. These items will help ensure personal safety while fostering a focused and productive renovation session. Additionally, having a utility knife on hand is advantageous for precision cutting of drywall or any wall coverings, ensuring cleaner and more precise removal.
Materials required for wall removal often extend beyond demolition needs. You should anticipate necessities for subsequent steps, such as lumber for constructing temporary supports if you are working with load-bearing walls. Additionally, once removal is complete, patching materials like joint compound, drywall patches, and sanding tools should be readily available to facilitate the transition from wall removal to creating a finished, aesthetically pleasing open layout.
- Always wear appropriate personal protective equipment (PPE), such as goggles and dust masks, to safeguard against potential hazards during wall removal.
- Ensure you have a reciprocating saw as part of your toolkit for efficiently cutting through drywall and wooden studs with precision and ease.
- Use a stud finder to accurately locate and avoid cutting into essential support structures that could compromise the home’s integrity.
- Prepare for the next stages of remodeling by having patching materials on hand to smoothly transition into refinishing after demolition.
- Consider investing in quality tools, as these will enhance your efficiency and potentially reduce the number of errors during the wall removal process.
Amassing the correct tools and materials streamlines demolition efforts and facilitates a seamless transition into the subsequent remodeling phases. Proper preparation is key to effectively transforming a space and ensures that safety, precision, and productivity are woven into every step of the wall removal journey.
step-by-step wall removal process
Taking down a wall in your home to create a more spacious and open layout can be an exciting prospect, but it also requires a careful, step-by-step approach to avoid unforeseen complications. Here’s how to proceed with the wall removal process efficiently while maintaining safety and structural integrity.
Begin by gathering the necessary tools and ensuring that all details of the plan align with your remodeling objectives. Before you even make a single cut, double-check the type of wall you plan to remove, ensuring it’s correctly identified as non-load-bearing unless you’ve already arranged for necessary support installations. This initial step guards against inadvertently destabilizing your home’s structure—a common and costly mistake.
Once you’ve confirmed the wall’s classification and its safety for removal with no risk of structural damage, prepare your workspace by clearing the area on both sides of the wall. Remove any furniture, fixtures, or artwork that could be in harm’s way. Ensure there’s sufficient lighting as proper visibility is crucial for precision.
With safety gear on, including goggles, a dust mask, and gloves, use a utility knife to cut through any paint or wallpaper along the wall junctions. This helps minimize damage to adjoining walls or ceilings when the section is finally removed. Next, using a hammer or pry bar, start by carefully removing trim and baseboards. These components can sometimes be reused post-remodel, saving you additional costs.
Switch to a reciprocating saw for cutting through drywall and any wooden studs. Begin by cutting small sections of drywall at a time, which allows for more control and reduces mess. It’s wise to start at the top and gradually work your way down to prevent large and heavy pieces from crashing to the floor unexpectedly.
Throughout the process, keep an eye out for any electrical wiring, plumbing, or ductwork hidden within the wall. Inadvertent damage to these systems is another common misstep that can escalate repair costs and delay your project. Before severing anything, disconnect electrical circuits and shut off water supplies where pipes are involved. If you’re unsure, consult a professional electrician or plumber.
As you continue removing the wall, remain organized by keeping the debris contained. Have a plan for disposal agreed upon beforehand, as leftover materials can become hazardous if left scattered around.
After the major demolition is complete, you can begin cleaning up the workspace and smoothing any rough spots on the adjoining floors, walls, and ceilings. Use sanding tools to create a seamless transition, readying the area for refinishing.
The last steps involve installing any structural supports you’ve planned, such as beams or columns, to ensure your newly opened space is both safe and stylish. Once structural work is complete, you can focus on the aesthetic aspects like repainting, installing new flooring, and adding any fixtures that enhance the functionality and appearance of your open-layout living space.
By following an orderly and cautious process, you can effectively execute a wall removal project that respects your remodeling goals and preserves your home’s architectural integrity. Avoiding hasty decisions and focusing on detail ensures your vision for more space becomes a lasting and enjoyable reality.
finishing and refinishing techniques
Now that you’ve carefully executed the wall removal, it’s time to shift your focus to the crucial phase of finishing and refinishing the newly created space. This step not only involves covering up any raw edges left from the demolition but also enhancing the overall aesthetic and functionality of your open layout.
Start by attending to any rough patches or uneven surfaces revealed during the wall removal process. Sand down these areas until they’re smooth, using a drywall sander where necessary. Proper sanding ensures that the subsequent layers of primer and paint adhere well, providing a polished finish. To cover joints and seams between the existing and new drywall sections, apply a joint compound. This compound conceals imperfections and prepares the surface for painting or wallpapering, creating a seamless appearance.
Once the surfaces are prepped, consider the color scheme and finishes that best suit your renovated space. Colors significantly influence the perception of space and can enhance the open feel of your layout. Lighter shades, for instance, help to amplify natural light, making areas appear larger and airier. For added depth and personality, you might want to incorporate accent walls or decorative elements that complement your existing decor.
Refinishing also extends to flooring, which can dramatically affect both the look and continuity of your open layout. If the newly exposed area has distinct flooring from adjoining rooms, decide whether to blend or contrast these surfaces. Installing uniform flooring materials like hardwood or continuous tile can create a coherent flow throughout the space, enhancing the sense of unity in your home. Alternatively, distinct flooring can establish subtle zones within an open-plan area, such as separating dining spaces from living rooms using different textures or patterns.
Another important aspect to consider is the restoration or enhancement of utility fixtures, such as electrical outlets, lighting, and HVAC vents. During wall removal, some of these elements may require repositioning. Strategically placed outlets and lighting can enhance the functionality and comfort of your open layout. Consider modern, energy-efficient lighting solutions to bring warmth and flexibility to your living space. Recessed lighting, pendant fixtures, and dimmable options offer versatile ambiance control, making your home more adaptable to different moods and occasions.
Once your finishes and fixtures are thoughtfully selected and installed, take the time to arrange furniture in a way that maximizes the new space, inviting movement and interaction. Open layouts encourage fluidity between different living areas, so aim for a balance that fosters both openness and coziness. Lightweight or modular furniture can be particularly advantageous, offering flexibility as your needs and preferences evolve.
As you wrap up this phase, relish the sense of achievement from your transformation efforts. Revel in the bright, welcoming atmosphere you’ve created—a testament to the effective remodeling tips and careful planning employed along the way. Let this newly fashioned space inspire creativity and versatility in your daily life, reminding you that the possibilities within your home are as open as your imagination.
Remember, successful renovation is about reflecting your personal style while enhancing functionality; with every brushstroke and detail, you’re not just altering your living space, but building a sanctuary of comfort and innovative living.
safety precautions and tips
Ensuring safety during a wall removal project is as critical as the wall’s structural considerations. Adopting a safety-first mindset helps prevent injuries and ensures the process progresses smoothly. Before beginning, equipping everyone involved with the proper personal protective equipment (PPE) is mandatory—this includes sturdy goggles to shield our eyes from dust and debris, heavy-duty gloves to protect our hands from sharp materials, and dust masks to prevent inhalation of harmful particles. Preparing the work area effectively by removing or covering any surrounding furniture and valuables helps avoid damage and maintains a clear workspace.
It’s crucial to cut off all relevant utilities before beginning demolition, including electricity, water, and gas, to prevent accidental injuries or damage to utility systems. Additionally, inspecting for hidden wires or pipes using appropriate detection tools can avert dangerous surprises during wall removal. Securing the proper permits and confirming compliance with local building codes ensures the legality and safety of your project.
Moreover, having a first aid kit on hand is prudent, as minor scrapes and cuts can happen even with the best precautions. Enlisting help or consulting professionals when in doubt, especially when dealing with potentially load-bearing structures, helps ensure a safe and successful renovation experience. Incorporating these safety precautions fosters confidence and peace of mind, paving the way for achieving that seamless, open layout you envision.
- Can I remove a wall myself, or should I hire a professional?
- While removing non-load-bearing walls can be a DIY project, load-bearing walls should always be handled by professionals to ensure safety and structural integrity. Consulting with a contractor or structural engineer is recommended to determine the nature of the wall and avoid potential hazards.
- How do I know if a wall is load-bearing?
- A load-bearing wall often supports the weight of the structure above it, such as the roof or upper floors. These walls typically run perpendicular to floor joists. However, it’s crucial to verify with an expert, as visual identification isn’t always foolproof.
- Are there any building permits required for wall removal?
- Yes, most jurisdictions require a building permit for wall removal, especially if the wall is load-bearing or affects the home’s structural components. Contact your local building authority for specific requirements in your area.
- What precautions should I take for electrical and plumbing systems within walls?
- Before removing a wall, turn off pertinent circuits and water supplies to prevent accidents. Use stud finders and inspection cameras to locate hidden electrical wires or plumbing. Hiring a professional for these systems is often the safest choice.
- What’s the best way to dispose of wall removal debris?
- Check with your local waste management service for disposal guidelines and consider renting a dumpster for large projects. Recycle materials where possible and ensure hazardous materials are disposed of according to local regulations.


