When it comes to managing household plumbing issues, having the right tools at your disposal can make all the difference between a successful DIY plumbing project and a headache-inducing mess. Whether you’re fixing leaky faucets, unclogging drains, or performing routine maintenance, equipping yourself with essential plumbing tools is a crucial first step. For homeowners who are eager to tackle simple repairs and enhancements, understanding these tools and their uses is key to achieving professional-grade results without the professional-grade costs.
Begin with a basic toolkit and gradually expand based on your needs, ensuring you’re prepared for a wide range of common plumbing issues. Here’s a rundown of indispensable plumbing tools along with their specific applications:
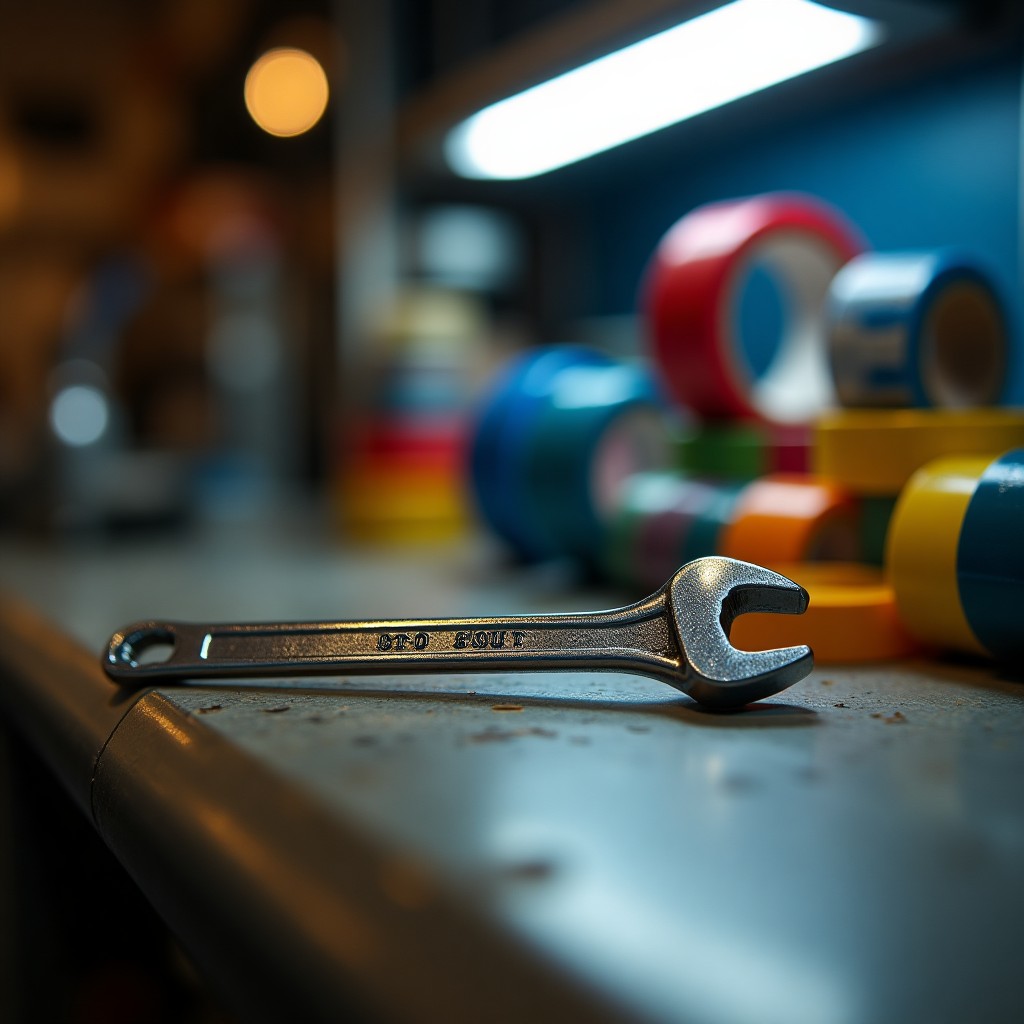
- Adjustable Wrench: This is versatile equipment in any DIY enthusiast’s arsenal. An adjustable wrench is essential for dealing with plumbing fixtures such as nuts and bolts of varying sizes. Ideal for securing fittings on faucets and showerheads, its adjustable jaws ensure a snug grip.
- Pipe Wrench: Known for its strength and leverage, a pipe wrench is perfect for gripping and turning pipes. Use it when you need to work on threaded galvanized steel pipes or tightening large plumbing nuts. Its serrated jaws provide a strong grip and can handle heavy-duty projects.
- Basin Wrench: Specifically designed for reaching and turning fasteners in tight or hard-to-reach spaces, a basin wrench is invaluable for working on faucet connections. This tool has a long handle and a pivoting jaw, allowing you to maneuver behind sink installations with ease.
- Plumber’s Tape (Teflon Tape): This tool might seem simple, but it’s vital for ensuring watertight seals on threaded pipe connections. Wrap it around threading to prevent leaks and make screw connections easier and more reliable.
- Plunger: Essential for any household, a quality plunger can solve many minor clogs without the harsh chemicals. Keep one with a flange for toilets and one with a cup for sinks and drains, ensuring you’re ready for any stop up’s that may occur.
- Auger (Plumber’s Snake): Sometimes, a plunger isn’t enough to clear stubborn clogs. An auger is useful for breaking through tougher obstructions in toilets and drains. A basic hand auger will often suffice for most residential needs.
A comparison of these tools and their functions offers valuable homeowner tips for selecting the right tool for the right job:
| Tool | Primary Use |
| Adjustable Wrench | Securing and loosening nuts and bolts on pipes and fittings |
| Pipe Wrench | Gripping and turning pipes |
| Basin Wrench | Tightening and loosening faucet connections in tight spaces |
| Plumber’s Tape | Ensuring watertight seals on threaded connections |
| Plunger | Clearing minor clogs in toilets and drains |
| Auger | Breaking through tougher clogs in pipes |
Being prepared with the right tools and understanding their proper application empowers homeowners to address common plumbing challenges head-on, saving time, money, and energy in home repairs. With these tools at your fingertips, you’ll be well-equipped to tackle various plumbing issues promptly and effectively.
Fixing leaky faucets
Dealing with a leaky faucet is a common home repair challenge that homeowners may encounter. Not only can a drip-drip-drip drive you crazy, but it can also significantly increase your water bill over time. Luckily, you can fix most faucet leaks with a few basic tools, some DIY plumbing knowledge, and a little patience. Here’s a step-by-step guide to help you stop that leak for good:
- Identify the Type of Faucet: Start by determining the type of faucet you have. Common types include compression, ceramic disc, ball, and cartridge faucets. Knowing your faucet type helps you understand its mechanism and the possible parts that might need replacement.
- Gather Your Tools and Supplies: Prepare the necessary tools such as an adjustable wrench, screwdriver, pliers, replacement parts like washers (if it’s a compression faucet), O-rings, and plumber’s tape. You may also want to have a bowl to catch any water that drips out during the process.
- Turn Off the Water Supply: Before beginning any repairs, locate and turn off the water supply to the faucet. This is usually found under the sink. Twist the valves clockwise to shut them off completely. To be extra safe, turn on the faucet and let any remaining water drain out.
- Disassemble the Faucet: Using a screwdriver or wrench, carefully remove the handle of the faucet. For compression faucets, unscrew the packing nut to access the stem. For other types, follow the manufacturer’s instructions to take the faucet apart without damaging any parts.
- Inspect and Replace Damaged Parts: Once the faucet is disassembled, check for worn-out components. For compression faucets, look at the rubber washer. For a ball faucet, the issue could be with the rubber seats or springs. Ceramic discs and cartridges should be examined for cracks or mineral build-up. Replace any damaged parts with new ones, which you can buy at a hardware store.
- Reassemble the Faucet: With the new parts in place, reassemble the faucet by reversing the disassembly steps. Ensure everything fits snugly together to avoid future leaks. Use plumber’s tape on threaded connections to help prevent leaks and secure the fit.
- Turn the Water Supply Back On: Slowly turn the water supply back on to avoid any sudden pressure that could re-damage the parts. Once the water is flowing, check for any leaks. Tighten parts if necessary, but avoid overtightening as it can create new problems.
- Test the Faucet: Finally, turn the faucet on and off a few times to ensure a smooth operation. Listen for any abnormal sounds and inspect for any signs of a leak. If everything is working properly and there’s no water dripping, congratulations, you’ve successfully fixed your leaky faucet!
A leaky faucet may intimidate someone new to home maintenance, but with these homeowner tips, tackling such repairs can become less daunting. With each fix, you gain more confidence and skill in managing DIY plumbing projects, setting you up for success in maintaining a comfortable and efficient home.
Unclogging drains efficiently
Addressing a clogged drain efficiently can save homeowners both time and money while preventing potential damage or plumbing emergencies. Drains can become clogged due to a variety of reasons, such as hair, soap scum, grease, or foreign objects getting lodged in the pipes. While it may seem like a daunting task, taking a proactive approach with do-it-yourself solutions can mitigate minor to moderate clogs. Here’s a comprehensive guide on clearing blocked drains without needing professional help.
The first step in tackling a clogged drain is identifying the severity and location of the blockage. Simple clogs often occur in bathroom sinks due to hair accumulation or in kitchen sinks because of food debris. For these issues, start with a plunger. Using a plunger designed for sinks—one that lacks the additional flange found on toilet plungers—is a good first attempt. Ensure there’s enough water in the sink to cover the rim of the plunger, then press it firmly over the drain. Creating a firm seal is crucial; use quick, sharp pumps to dislodge the obstruction.
If a plunger doesn’t resolve the issue, the next step is to employ a plumber’s snake or auger. This tool is more effective for stubborn clogs, especially those further down the pipes. Insert the auger into the drain and rotate the handle while gently pushing forward to break through or latch onto the clog. Slowly pull the auger back out, taking care to unwind any debris. This method can often reach blockages beyond the immediate reach of a plunger.
Chemical drain cleaners, while often advertised as a quick fix, should be used with caution. They can be effective at dissolving organic clogs, but these substances can be harsh on pipes and dangerous if mishandled. For those who prefer an eco-friendly approach, a mixture of baking soda and vinegar can serve as a natural alternative. Pour about half a cup of baking soda down the drain, followed by a cup of white vinegar. The chemical reaction between the two creates fizzing action that can help break down the clog. Let it sit for at least 15 minutes before flushing the drain with hot water to clear any remaining residue.
Prevention plays a significant role in keeping drains clog-free. Regularly clean stoppers and traps in sinks to remove any accumulated debris. For a proactive measure, install a drain screen to catch hair and food particles before they reach the pipes. Regular maintenance, such as routine flushing of drains with boiling water, can help dissolve soap scum and grease buildup.
Confronting drain clogs might seem like a challenging task, but with the right tools and techniques, it’s a manageable DIY plumbing project. This empowers homeowners with valuable skills and confidence, making it easier to maintain household efficiency and comfort. Plus, these homeowner tips for dealing with drain issues help save money on professional repairs and extend the life of the home’s plumbing system.
Troubleshooting low water pressure
Experiencing low water pressure in your home can be both annoying and puzzling. Whether it’s a mere drizzle in your shower or a kitchen faucet that seems to take forever to fill a pot, untangling the cause can offer great relief. With some basic DIY plumbing skills and a few homeowner tips, you can often diagnose and solve the issue without reaching for the phone to call a professional. Here’s a detailed approach to help you understand the possible sources of low water pressure and how to address them effectively:
First, it’s essential to determine whether the low water pressure affects your entire house or if it’s isolated to specific fixtures. Begin by turning on taps around your home to see if the problem is widespread or limited to one area. If the issue is in a localized spot, such as a single faucet or showerhead, the solution might be as simple as cleaning or replacing it.
For isolated fixtures, sediment buildup is a common culprit that can clog aerators or showerheads. Start by unscrewing the aerator on your faucet or removing the showerhead and checking for debris. Soak these parts in vinegar overnight to dissolve mineral deposits, then rinse them thoroughly before reattaching. This easy repair can immediately improve water flow if sediment was the issue.
If low water pressure is present throughout the house, inspect your home’s main water valve and pressure regulator. Sometimes, the valve near your water meter or the regulator dial may have been inadvertently turned or maladjusted, restricting flow. Ensure the valve is fully open and that the pressure is set correctly, typically between 45 and 60 psi for most homes.
Another possible cause is a leak somewhere in the system. To check for leaks, look for signs of water damage around your home or listen for the sound of running water when all taps are off. Alternatively, you can perform a meter test by recording the water meter’s reading, refraining from water use for a few hours, and then checking the reading again. An unchanged meter means no leaks; otherwise, you’ll want to locate and fix the source of the leak.
In some cases, the issue might not be with your plumbing at all but with the municipal water supply. Contact your water supplier to inquire about any known issues or maintenance work that could temporarily impact water pressure.
Old or corroded piping could also be the source of pressure problems. In older homes, galvanized pipes can rust, causing blockages that disrupt water flow. While replacing these pipes is a more involved project that might eventually require professional intervention, homeowners can prolong the life of their plumbing system with regular system checks and basic maintenance.
Remember, successful DIY plumbing repairs, like troubleshooting low water pressure, involve a mixture of observation, patience, and practical know-how. Ensuring your plumbing system is in top shape not only resolves immediate inconveniences but also contributes to the long-term well-being of your home, keeping it comfortable and efficient. Whether it’s cleaning an aerator, adjusting a valve, or playing detective to track down elusive leaks, these homeowner tips will set you on the right track to maintaining optimal water pressure in your home.
Maintaining your water heater
Proper upkeep of your water heater can significantly enhance its lifespan and efficiency, ensuring it delivers hot water reliably whenever you need it. Regular maintenance is not only a wise investment in the long-term functionality of the appliance but also a practical way for homeowners to engage in DIY plumbing and avoid unnecessary repair costs.
Start by examining the temperature setting on your water heater. The recommended setting for households is typically around 120 degrees Fahrenheit. This level is hot enough for most uses while reducing the risk of scalding and the buildup of mineral deposits inside the tank. Lowering the temperature can also result in reduced energy consumption and lower utility bills—an added bonus for environmentally conscious homeowners looking to save money.
To maintain the efficiency of the heater and prevent sediment buildup—a common issue that can lead to decreased efficiency and damage—it’s essential to regularly flush the tank. Begin by turning off the power to the heater for electric units, or setting the gas control to pilot for gas heaters. Attach a hose to the drain valve and direct it to a suitable drainage location, usually outside or into a large bucket. Open the drain valve to allow water to flow out, and run the cold water supply into the tank to stir up and remove accumulated sediment until the water runs clear. Remember to be cautious, as the water draining out can be extremely hot.
Don’t overlook the importance of checking the anode rod, a crucial component that prevents rusting inside the tank by attracting corrosive elements. Every few years, unscrew and inspect the anode rod and replace it if more than six inches of its core steel wire is exposed, or if it is coated with calcium. Doing so can forestall rust-related damage, extending the life of the heater significantly.
Another key element to check is the pressure release valve, which is a safety feature that prevents excess pressure buildup. To test it, lift the valve’s lever and listen for the sound of water gurgling through the discharge pipe. Release the lever and ensure that it snaps back into place securely. If it doesn’t, consider replacing the valve to ensure continued safe operation of your water heater.
Incorporating these homeowner tips in routine water heater maintenance will mitigate issues before they escalate into costly repairs. By tackling these straightforward tasks, you can ensure your system functions optimally, reflecting the effectiveness of proactive DIY plumbing care. Regular maintenance not only safeguards against potential inconveniences like cold showers but also promotes energy efficiency and longevity of your appliance.
Concluding the essence of DIY plumbing, mastering these fundamental repairs and maintenance tasks empowers homeowners with the confidence and ability to address common issues. Whether it’s managing water pressure, fixing leaks, or maintaining a water heater, these skills play a critical role in preserving the comfort and efficiency of your home. By approaching plumbing tasks with diligence and a can-do spirit, homeowners can enjoy a safe, cost-effective, and smoothly running household.