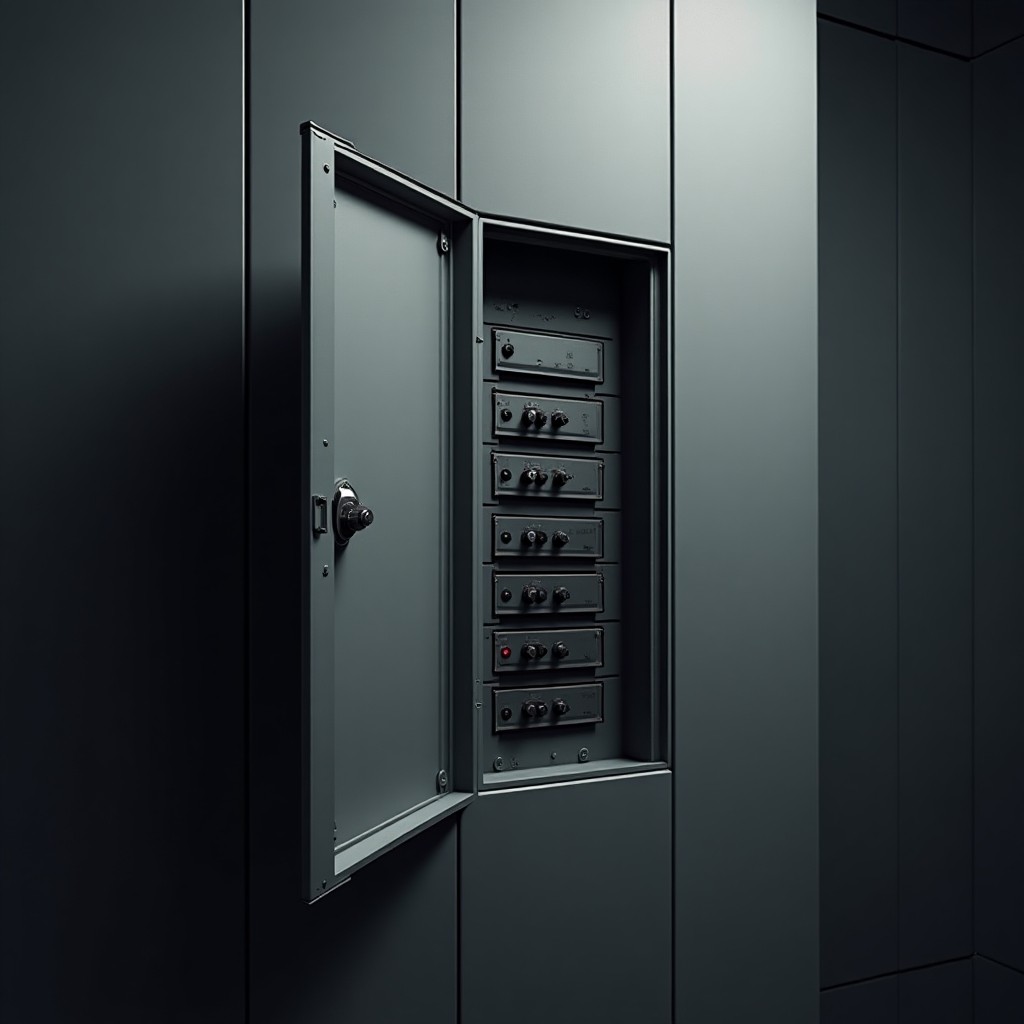
When facing dead outlets in your home, the circuit breaker panel should be your first stop for electrical troubleshooting. These essential safety devices automatically trip when they detect an electrical overload, short circuit, or other potentially dangerous situations, cutting power to protect your home and appliances.
To properly inspect your circuit breaker panel:
- Locate your home’s main electrical panel, typically found in the basement, garage, or utility room
- Open the panel cover to reveal the breaker switches
- Look for any switches that are in the middle or “off” position rather than fully “on”
- Reset any tripped breakers by pushing them firmly to the “off” position first, then back to “on”
- Listen for a clicking sound that confirms proper engagement
As part of essential homeowner tips, familiarize yourself with your breaker panel’s layout and label each circuit clearly. If a breaker immediately trips again after resetting, this could indicate a more serious electrical issue requiring professional attention.
| Breaker Position | What It Means | Action Required |
| Fully On | Circuit is functioning normally | No action needed |
| Middle Position | Circuit has tripped | Reset required |
| Fully Off | Circuit manually disabled | Switch to “on” if power needed |
Remember to check all breakers, as sometimes a single circuit powers multiple outlets throughout your home. If resetting the breaker doesn’t resolve the issue, or if the breaker trips frequently, it’s crucial to investigate further or consult a licensed electrician to prevent potential safety hazards.
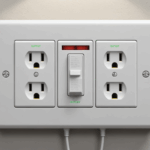
Test nearby GFCI outlets
After checking your circuit breaker, examining GFCI (Ground Fault Circuit Interrupter) outlets is a crucial step in electrical troubleshooting. These specialized outlets, commonly found in bathrooms, kitchens, garages, and outdoor areas, can control power to several regular outlets connected on the same circuit.
- Identify GFCI outlets in your home:
- Look for outlets with “TEST” and “RESET” buttons
- Check rooms adjacent to areas with dead outlets
- Remember that one GFCI outlet can protect multiple standard outlets
- Test the GFCI outlet:
- Press the “TEST” button – the outlet should click and power should cut off
- Press “RESET” to restore power
- If the reset button won’t stay pushed in, there may be a wiring issue
- Check connected outlets:
- Plug a lamp or circuit tester into nearby outlets
- Test all outlets in adjacent rooms
- Map which outlets are controlled by each GFCI
As part of essential homeowner tips, maintain a diagram or list of which standard outlets are protected by each GFCI outlet. This documentation can save considerable time during future troubleshooting. If a GFCI outlet fails to reset or shows signs of damage, don’t attempt repairs yourself – contact a qualified electrician.
| GFCI Status | Possible Issue |
| Won’t Reset | Ground fault present or outlet failure |
| Trips Frequently | Moisture exposure or wiring problem |
| No Response to Test | Unit needs replacement |
Inspect outlet for visible damage
A thorough visual inspection of your outlets can reveal telling signs of electrical problems and potential safety hazards. As part of electrical troubleshooting, carefully examine each dead outlet for these critical indicators:
- Physical Damage
- Cracked or broken faceplate
- Loose or wobbly outlet in the wall
- Discoloration or scorch marks
- Missing or broken outlet prongs
- Signs of Overheating
- Brown or black burn marks around slots
- Melted plastic components
- Unusual odors like burning plastic
- Water Exposure
- Water stains or rust
- Mineral deposits
- Corrosion on metal parts
Among essential homeowner tips, regularly inspecting your outlets can prevent serious electrical hazards. If you notice any of these warning signs, immediately discontinue use of the outlet and schedule a professional inspection.
| Damage Type | Risk Level | Required Action |
| Visible Burns | High | Immediate replacement needed |
| Loose Mounting | Medium | Professional repair required |
| Cosmetic Cracks | Low to Medium | Replace faceplate or outlet |
A loose outlet that moves when plugging in devices can indicate deteriorated mounting hardware or a damaged electrical box. Such movement can strain wire connections, potentially leading to arcing, shorts, or fire hazards. Always ensure outlets are firmly secured to their mounting boxes.
Verify power in other rooms
One important step in electrical troubleshooting is to determine whether the power issue is isolated or widespread. A systematic check of other rooms can provide valuable clues about the nature of your electrical problem and help narrow down potential causes of dead outlets.
Start by methodically testing outlets in adjacent rooms:
– Use a simple plug-in lamp or circuit tester
– Check outlets on both interior and exterior walls
– Pay attention to outlets that might share the same circuit
– Test both the top and bottom receptacles of each outlet
Create a quick map of working and non-working outlets throughout your home. This visual reference can help identify patterns that point to specific circuits or wiring runs. Among essential homeowner tips, maintaining such documentation can prove invaluable for future troubleshooting and when working with an electrician.
Consider these common patterns:
– All outlets on one wall are dead
– Multiple rooms on the same floor affected
– Only outlets in newer home additions not working
– Issues limited to one side of the house
| Pattern | Likely Cause |
| Single Room | Local wiring issue or tripped breaker |
| Multiple Rooms | Main circuit problem or shared GFCI |
| Entire Floor | Major electrical issue or main breaker |
If you discover that the power loss extends beyond a single room, this often indicates a more significant electrical issue that may require professional assessment. Document your findings carefully, noting which outlets work and which don’t, to help expedite the diagnostic process.
Common wiring problems and solutions
- Loose Wire Connections
- Wires can become loose at the terminal screws
- Push-in connections may fail over time
- Vibration and age can cause connections to deteriorate
- Backstab Connection Failures
- Quick-connect ports can lose grip on wires
- Creates intermittent power issues
- Often causes outlet failure without tripping breakers
- Wire Break or Damage
- Broken wires inside walls from renovation work
- Rodent damage to electrical wiring
- Age-related insulation breakdown
Among essential homeowner tips, always turn off power at the breaker before investigating dead outlets. Here are common solutions for various wiring problems:
| Problem | Solution |
| Loose Connections | Rewire using terminal screws instead of push-in ports |
| Broken Wire | Install new wire run or junction box |
| Worn Outlet | Replace with new commercial-grade outlet |
If you encounter aluminum wiring (common in homes built between 1965-1973), special attention is required. Only use CO/ALR rated devices or have a qualified electrician install proper copper-to-aluminum connectors. Improper connections with aluminum wiring can create serious fire hazards.