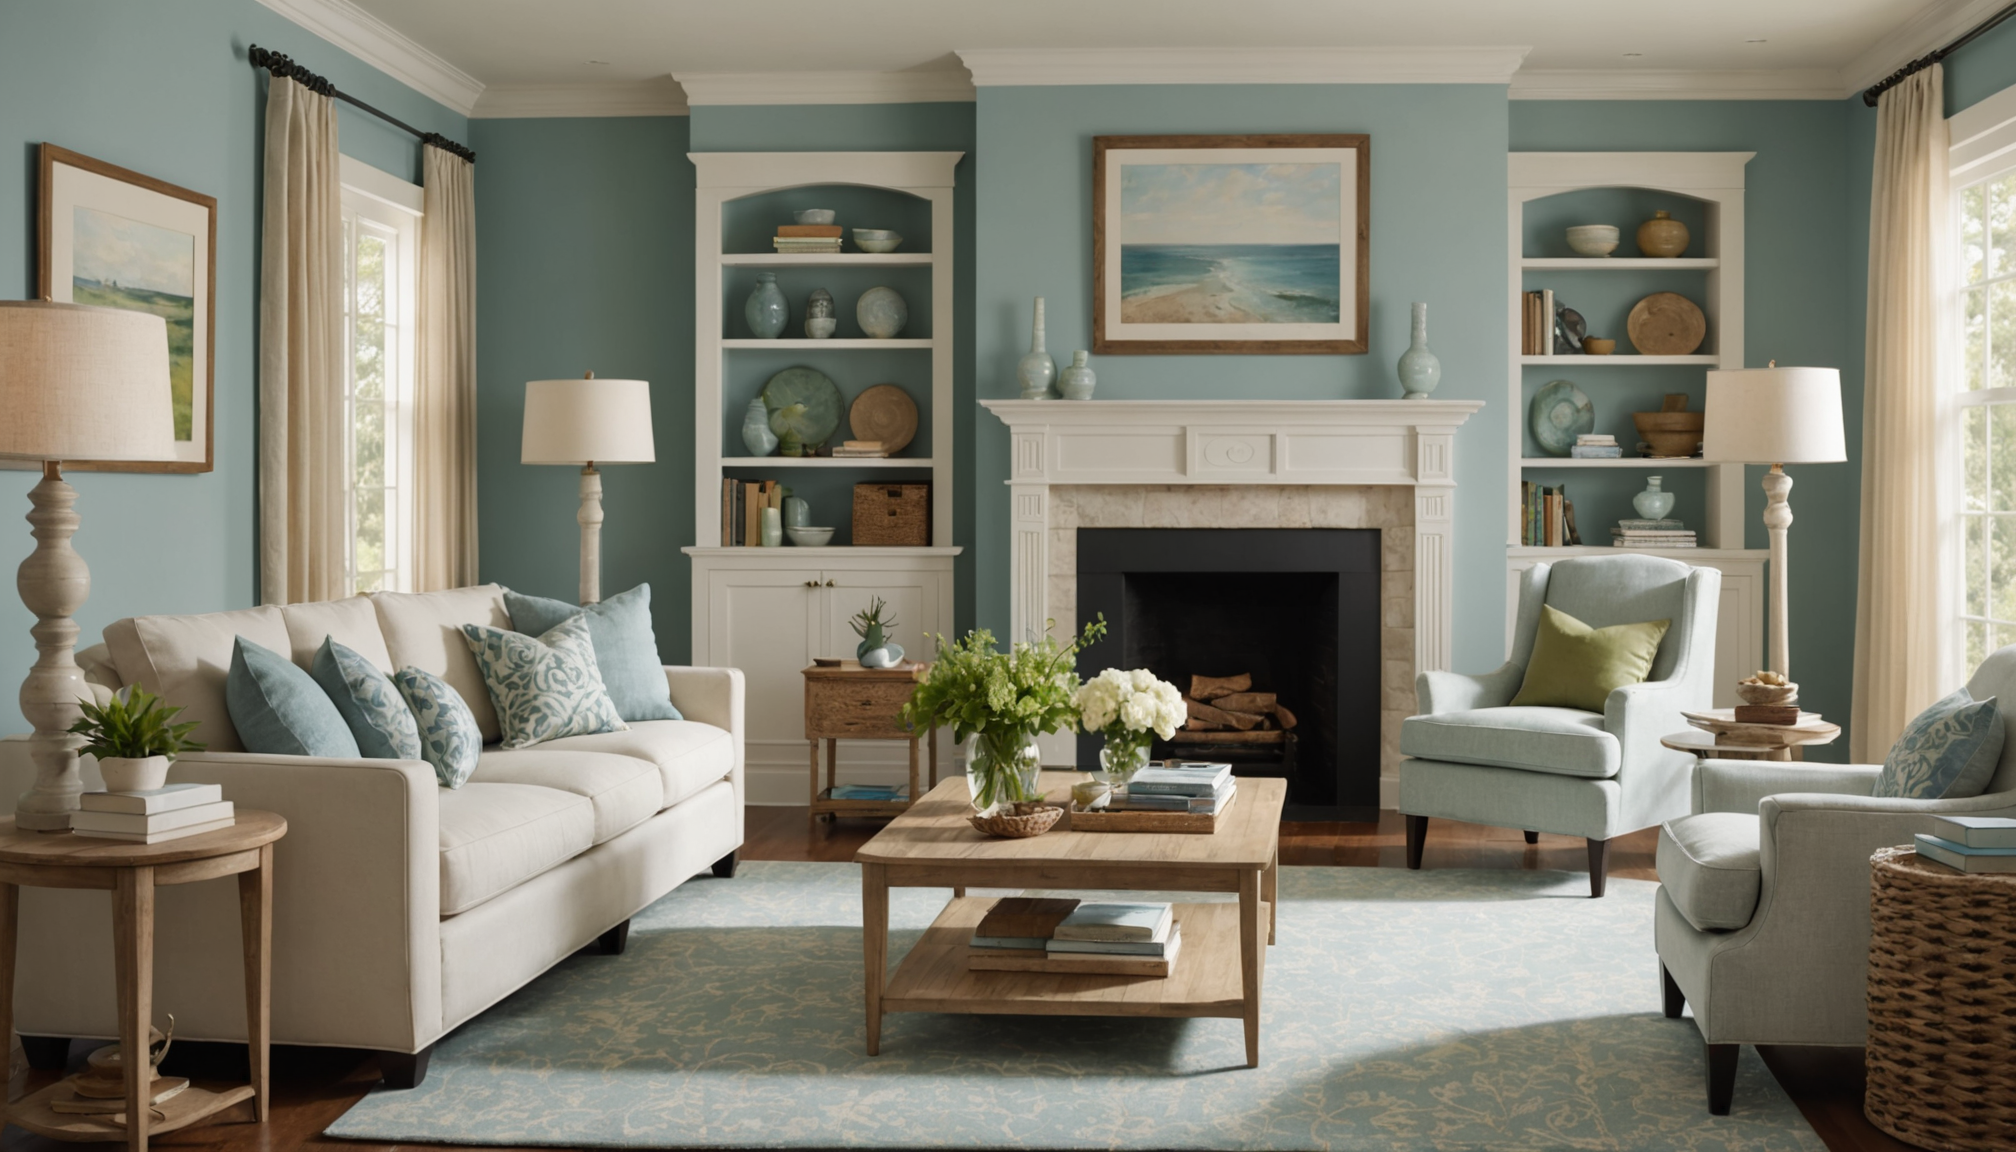
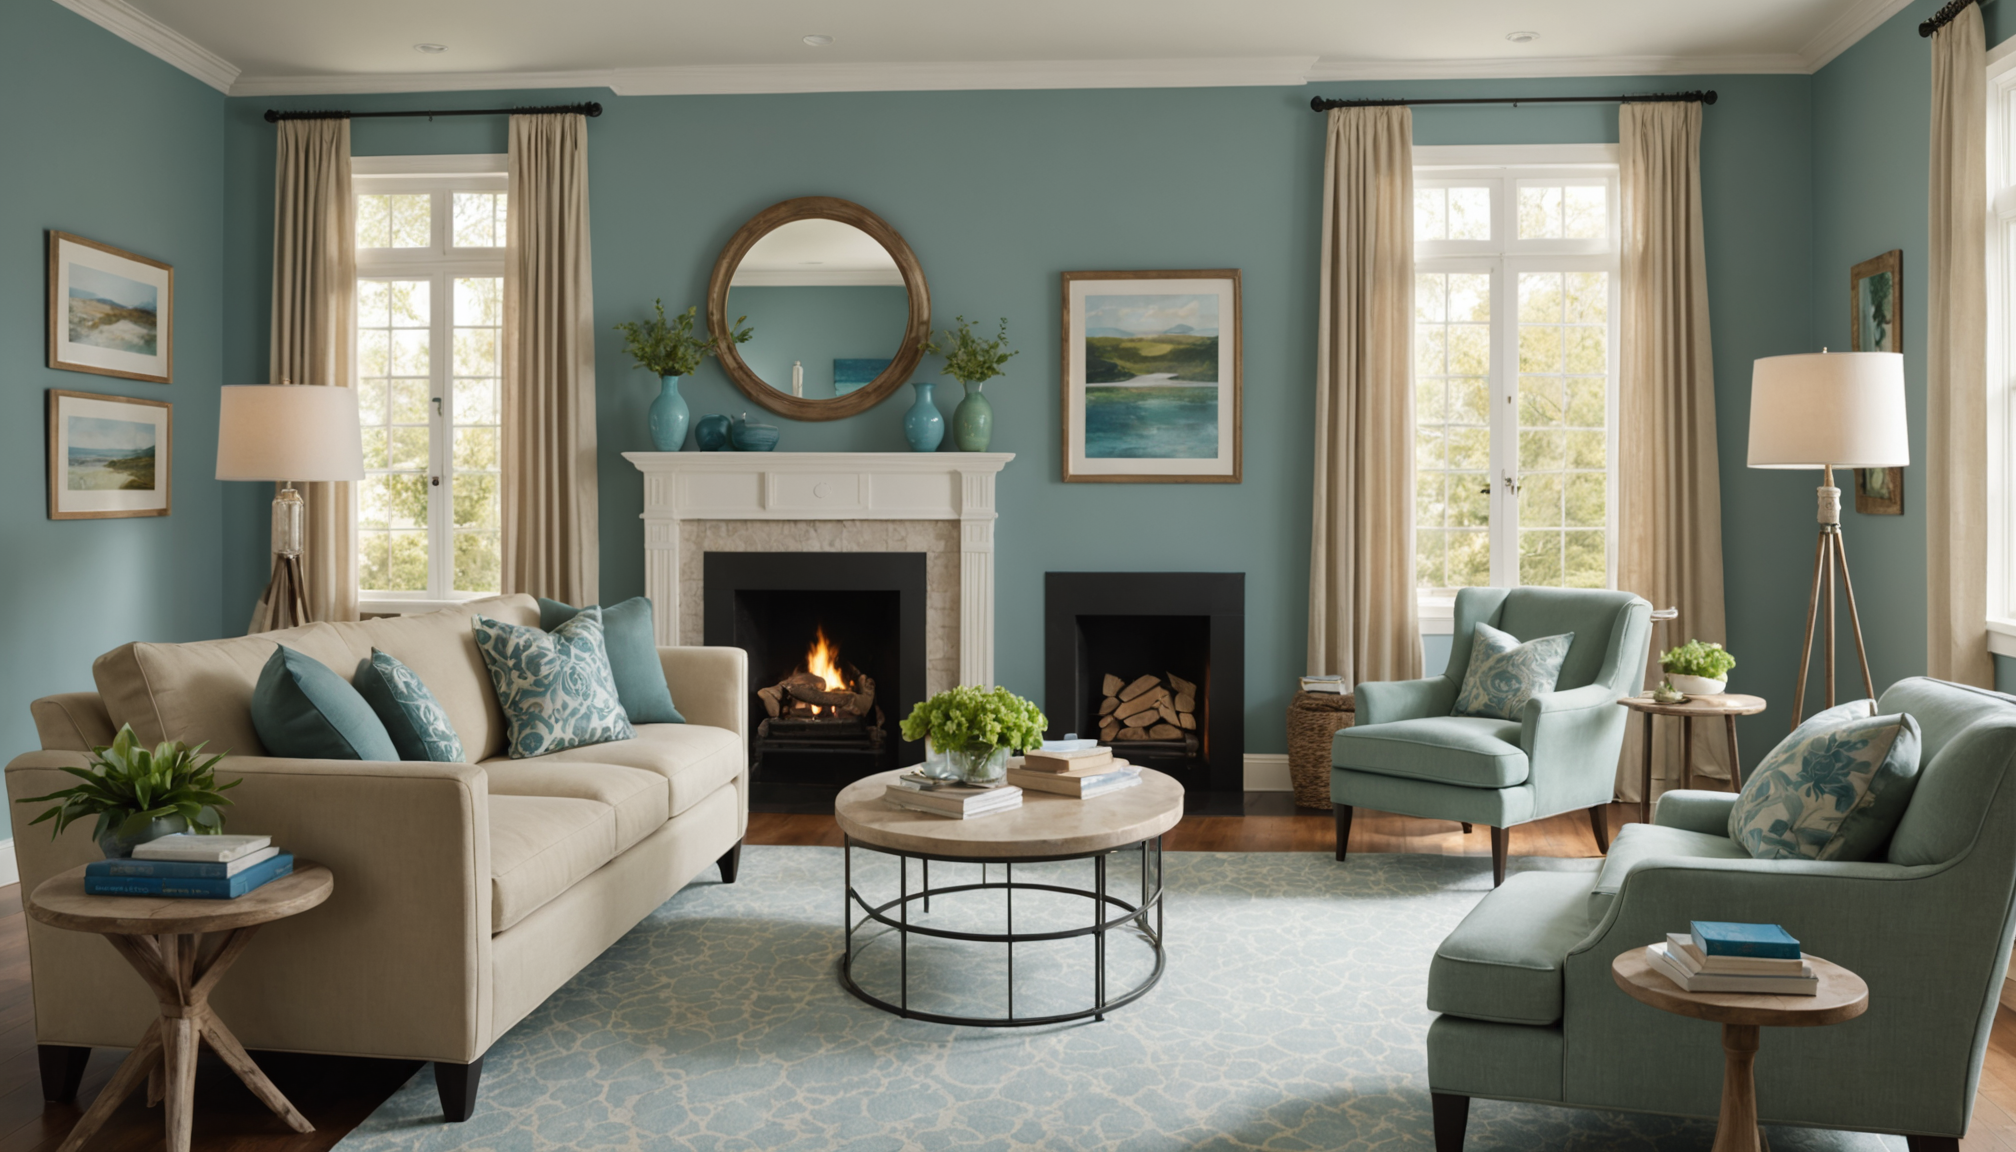
In the realm of home improvement, painting stands out as an accessible and transformative project that can refresh and revitalize a living space with minimal expense and effort. Selecting the right paint colors is a critical step that impacts not only the aesthetic appeal of your interiors but also the overall ambiance of your home. With painting as a favored DIY remodel activity, understanding how to choose cost-effective paint colors can empower homeowners to achieve stylish results without overstretching their budgets.
One of the fundamental aspects of choosing cost-effective paint colors is understanding the concepts of color psychology and light interaction. Different hues can evoke various emotions; for instance, blues and greens often create a calming effect, while yellows and oranges induce warmth and energy. This understanding can guide you in selecting shades that complement the function of each room. Additionally, keep in mind that the color you see in a sample swatch can look drastically different depending on lighting conditions. To mitigate this, always test a small section of your wall with sample paint and observe how it looks at different times of the day.
When selecting paint colors on a budget, exploring neutral palettes can be particularly advantageous. Neutrals not only offer timeless appeal and versatility but also provide a seamless backdrop that allows you to add color through accessories and furnishings that are easier and less costly to change. According to interior design experts, neutral shades such as greys, beiges, and whites can also make small spaces appear larger and more inviting, an effective strategy for enhancing the perceived value of your home.
Another strategic approach to choosing budget-friendly paint colors is to focus on paints that provide good coverage and durability. These paints might have a higher upfront cost but ultimately save money by reducing the need for multiple coats and increasing the longevity of the paint job. Consulting with paint professionals or reliable sources such as Consumer Reports can offer insights into which brands and products provide the best value for money.
Integrating current trends into your paint color choices can also be cost-effective. Trends often dictate which colors are readily available at discounts, as manufacturers anticipate higher volume sales. Though it can be tempting to adopt the latest vibrant shades, consider how these will age. Opt for accents rather than entire walls when incorporating bold trends, marrying trend-savvy aesthetics with the timelessness of a base neutral color. Thus, you maintain a stylish home that doesn’t require frequent repainting.
Ultimately, when choosing cost-effective paint colors, a strategic combination of understanding color impacts, evaluating usage, considering longevity, and smart sourcing of paints will all contribute to a successful and economically savvy DIY remodel. Choose wisely, and your home improvement project will leave your living spaces refreshed, inviting, and above all, achieved within a budget.
Preparing your walls for painting
Thorough preparation is the cornerstone of a successful DIY remodel involving painting. It ensures that your home improvement project achieves a polished, professional finish while remaining budget-friendly. Proper wall preparation goes beyond mere aesthetics; it enhances paint adhesion and durability, allowing your refreshed walls to maintain their appearance longer and reducing the need for future touch-ups.
Begin by evaluating the condition of your walls. Look for any existing cracks, holes, or imperfections that need attention. It’s crucial to fill these gaps with spackle or a suitable filler, followed by sanding to create a smooth and even surface. This step not only supports optimal paint application but also prevents unsightly flaws from showing through the paint layers. Furthermore, removing any dust, dirt, or grease with a damp cloth or a mild cleaning solution ensures that the paint adheres efficiently, avoiding peeling or chipping that might necessitate frequent repaints.
Taping and protecting surrounding areas is also essential for an efficient and mess-free painting process. Use painter’s tape to shield trims, baseboards, and electrical outlets, and cover furniture and floors with drop cloths or plastic sheets. This method prevents accidental paint splashes and keeps cleanup to a minimum, saving time and supplies.
For areas with old paint, especially those transitioning from darker to lighter colors, priming is a cost-effective technique to consider. A quality primer provides a uniform base, allowing the new paint color to appear vibrant and evenly coated. It also blocks any existing stains from seeping through, ensuring the longevity and quality of the paint job, which is critical in maintaining a budget-conscious home improvement effort.
- Thoroughly inspect your walls for imperfections and fill any cracks or holes to ensure a smooth and flawless paint finish.
- Clean the surfaces with a mild detergent to remove dust, dirt, and grease; a clean surface allows better paint adhesion and finish.
- Protect adjacent areas like trims and outlets with painter’s tape, and cover floors and furniture to prevent paint splatters.
- Apply a primer to enhance paint adhesion and ensure consistent color, particularly when painting over dark colors.
- Invest in good quality spackle and sandpaper; while these may be small costs, they yield long-term benefits by ensuring the durability of the paint job.
Neglecting these preparatory steps can lead to a less-than-stellar outcome, undermining both your DIY efforts and the intended impact of your home improvement project. Proper preparation doesn’t just enhance the visual appeal of your newly painted walls but also extends the life of your work, ultimately stretching your budget while ensuring delightful results.
Budget-friendly tools and supplies
When it comes to achieving a stunning and cost-effective DIY remodel through painting, choosing the right tools and supplies is crucial. Unfortunately, a common mistake many people make is opting for cheap materials in an attempt to save money. While it may seem prudent at the outset, this approach often leads to additional expenses, wasted time, and subpar results, ultimately derailing your home improvement efforts.
One primary pitfall is selecting low-quality brushes and rollers. While they may be easy on the wallet, these tools can leave visible streaks, shed bristles onto your freshly painted walls, or offer uneven coverage. Instead, invest in a high-quality roller cover with the appropriate nap for your surface; the right tools can achieve a smooth and flawless finish with minimal effort. Similarly, a good quality brush is indispensable for detailed work around edges and corners. Though they might cost more initially, the right brushes and rollers ensure you won’t have to redo your work or struggle with inadequate finishes, stretching your budget in the long run.
Another prevalent mistake is skimping on painter’s tape. Substandard tape may not adhere well or could allow paint to bleed through, resulting in an unprofessional appearance with sloppy edges. Opt for a reputable brand of painter’s tape that adheres securely and removes cleanly, preserving the sharp lines that elevate your DIY remodel from amateur to professional. Proper use of tape also streamlines the process, minimizing time spent on touch-ups later.
Drop cloths and protective coverings are often underestimated in their significance. Opting for thin plastic sheets might sound like a cost-saving measure, but they can tear easily and shift, exposing your furniture or flooring to stains and adding to your cleanup burden. Investing in reusable fabric drop cloths provides more reliable protection and stability, ensuring the focus remains on your painting and not on painstaking cleanup afterward.
Additionally, avoiding the use of low-quality primers can be a costly oversight. While it might be tempting to skip priming to save on supplies, a good primer is crucial for hiding stains, allowing better adhesion, and enhancing the vibrancy of your chosen paint color. Investing in a quality primer can ultimately reduce the number of paint layers required, providing savings in both time and paint costs.
In summary, while the allure of cheaper tools and materials can be strong, it’s essential to prioritize quality, especially for key items such as brushes, rollers, tape, and protective coverings. By wisely investing in durable and reliable supplies, you ensure that the outcome of your home improvement project meets your expectations both aesthetically and economically, making your DIY remodel a resounding success.
Techniques for efficient painting
Achieving a polished finish swiftly and efficiently is the hallmark of any successful DIY remodel, particularly when painting is involved. Mastering techniques that maximize effectiveness while minimizing effort can make your home improvement project both rewarding and budget-friendly. A strategic approach involves a few key techniques, beginning with planning the most efficient order of operations.
Start by addressing the edges and corners before moving on to larger areas. This can be done using a quality angled brush, which ensures precision in those tight spots where rollers can’t reach. Once the edges are sealed, you can use a roller for the main surfaces, working in manageable sections to maintain a wet edge and avoid lap marks. Employing a ‘W’ pattern allows for even distribution and ensures that every part of the surface receives a uniform paint layer. This technique enhances coverage and reduces the need for multiple coats, saving paint and time.
Another vital aspect is maintaining consistent pressure on your roller and avoiding overloading it with paint. Too much paint can cause drips and splatters, leading to a messy finish and unnecessary cleanup, while too little can result in inadequate coverage. Load your roller evenly, and use a paint screen or grid to remove excess paint, providing control and smooth application. Moreover, extend the life of your roller by periodically misting the walls slightly with water when using latex paint, keeping the roller moist and efficient.
Timing is another element that can optimize your painting process. Plan to paint when temperatures are moderate, and humidity is low. This prevents the paint from drying too quickly, which can create visible streaks or brush marks. Furthermore, working sequentially from top to bottom and ceiling to floor ensures any mishaps, such as drips, are corrected as you go, allowing gravity to be an ally instead of a challenge.
If possible, enlist a friend or family member to help. While one person tackles detailed work with a brush, the other can roll larger sections, allowing for a faster and more effective process. Regardless of the chosen tactic, the key lies in preparation; have your tools organized, paints properly mixed, and a plan laid out to avoid unnecessary pauses, which can break the painting rhythm.
As you refine your painting techniques, employ these strategies to transform your space efficiently while safeguarding your budget and ensuring a professional-looking finish. Embrace the art of painting as a creative and economical home improvement endeavor. Stay motivated, and with each brushstroke and roller application, remember you’re crafting a refreshed and vibrant sanctuary within your home.
Adding finishing touches without breaking the bank
Incorporating final touches in your home improvement project can significantly enhance the appeal of your newly painted spaces without straining your budget. One effective way to add character to your rooms is by utilizing decorative accents that complement your chosen paint colors. Consider using inexpensive items such as peel-and-stick wallpapers, which can offer texture and pattern, allowing you to create accent walls that add depth and interest to the room.
Another budget-friendly option is the strategic installation of molding or trim. Crown molding, baseboards, or chair rails can also be painted in contrasting or coordinating colors to elevate the style and sophistication of a space. These elements not only enhance visual appeal but also provide a finished look to your painting project that echoes a professional touch.
To further enrich your interior, consider incorporating DIY art or upcycled decorative pieces that mirror current design trends. Frame and hang your own creations or re-purpose thrifted finds with a fresh coat of paint to bring customizable and affordable flair to your home. Mirrors and strategically placed lighting fixtures can amplify natural light and create the illusion of a larger room, infusing your space with warmth and openness.
Incorporating plants is a cost-effective way to introduce natural beauty and freshness to your interiors. Opt for easy-to-maintain greenery that can thrive indoors, such as pothos or succulents, and use creative planters that echo your decor style. Well-placed plants breathe life into a room, complementing your painting efforts and contributing to a serene atmosphere.
By thoughtfully adding these economic enhancements, you can transform your DIY remodel project into a polished and inviting haven. Employing simple, innovative solutions to elevate aesthetics ensures that your home reflects your personal style while remaining within budget.
- Question 1: What is the best way to choose a paint color for my home on a budget?
- Choosing a paint color within budget can be achieved by testing samples at home in different light conditions to see how they look. Opt for colors that reflect your personal style and consider neutrals for lasting appeal and versatility.
- Question 2: How should I prepare my walls before painting?
- Begin by repairing any cracks or holes with filler and sand them smooth. Clean the walls to remove dust and grease, and apply painter’s tape to protect trims and sockets. Priming is recommended to enhance paint adhesion, especially over dark colors.
- Question 3: Are there any tools that can help make painting more efficient?
- Investing in quality brushes and rollers can greatly enhance the efficiency of your painting project by achieving smooth finishes and reducing the likelihood of redoing work. Using a paint grid and drop cloths can also make the process cleaner and more efficient.
- Question 4: How do I add character to my walls without spending a lot?
- Add cost-effective character to your walls with peel-and-stick wallpaper, DIY art, and decorative molding. These solutions can enhance texture and depth while keeping costs down and offering flexibility in updates.
- Question 5: Can I still achieve professional results doing the painting myself?
- Yes, achieving professional results is possible with proper preparation, quality tools, and efficient techniques. Paying attention to detail, using appropriate materials, and taking your time with each step can mimic the work of professional painters.
