According to the Environmental Protection Agency (EPA), there are over 100,000 species of mold, with approximately a dozen types commonly found in homes. Understanding what you’re dealing with is crucial for proper mold cleanup and determining whether DIY methods are appropriate.
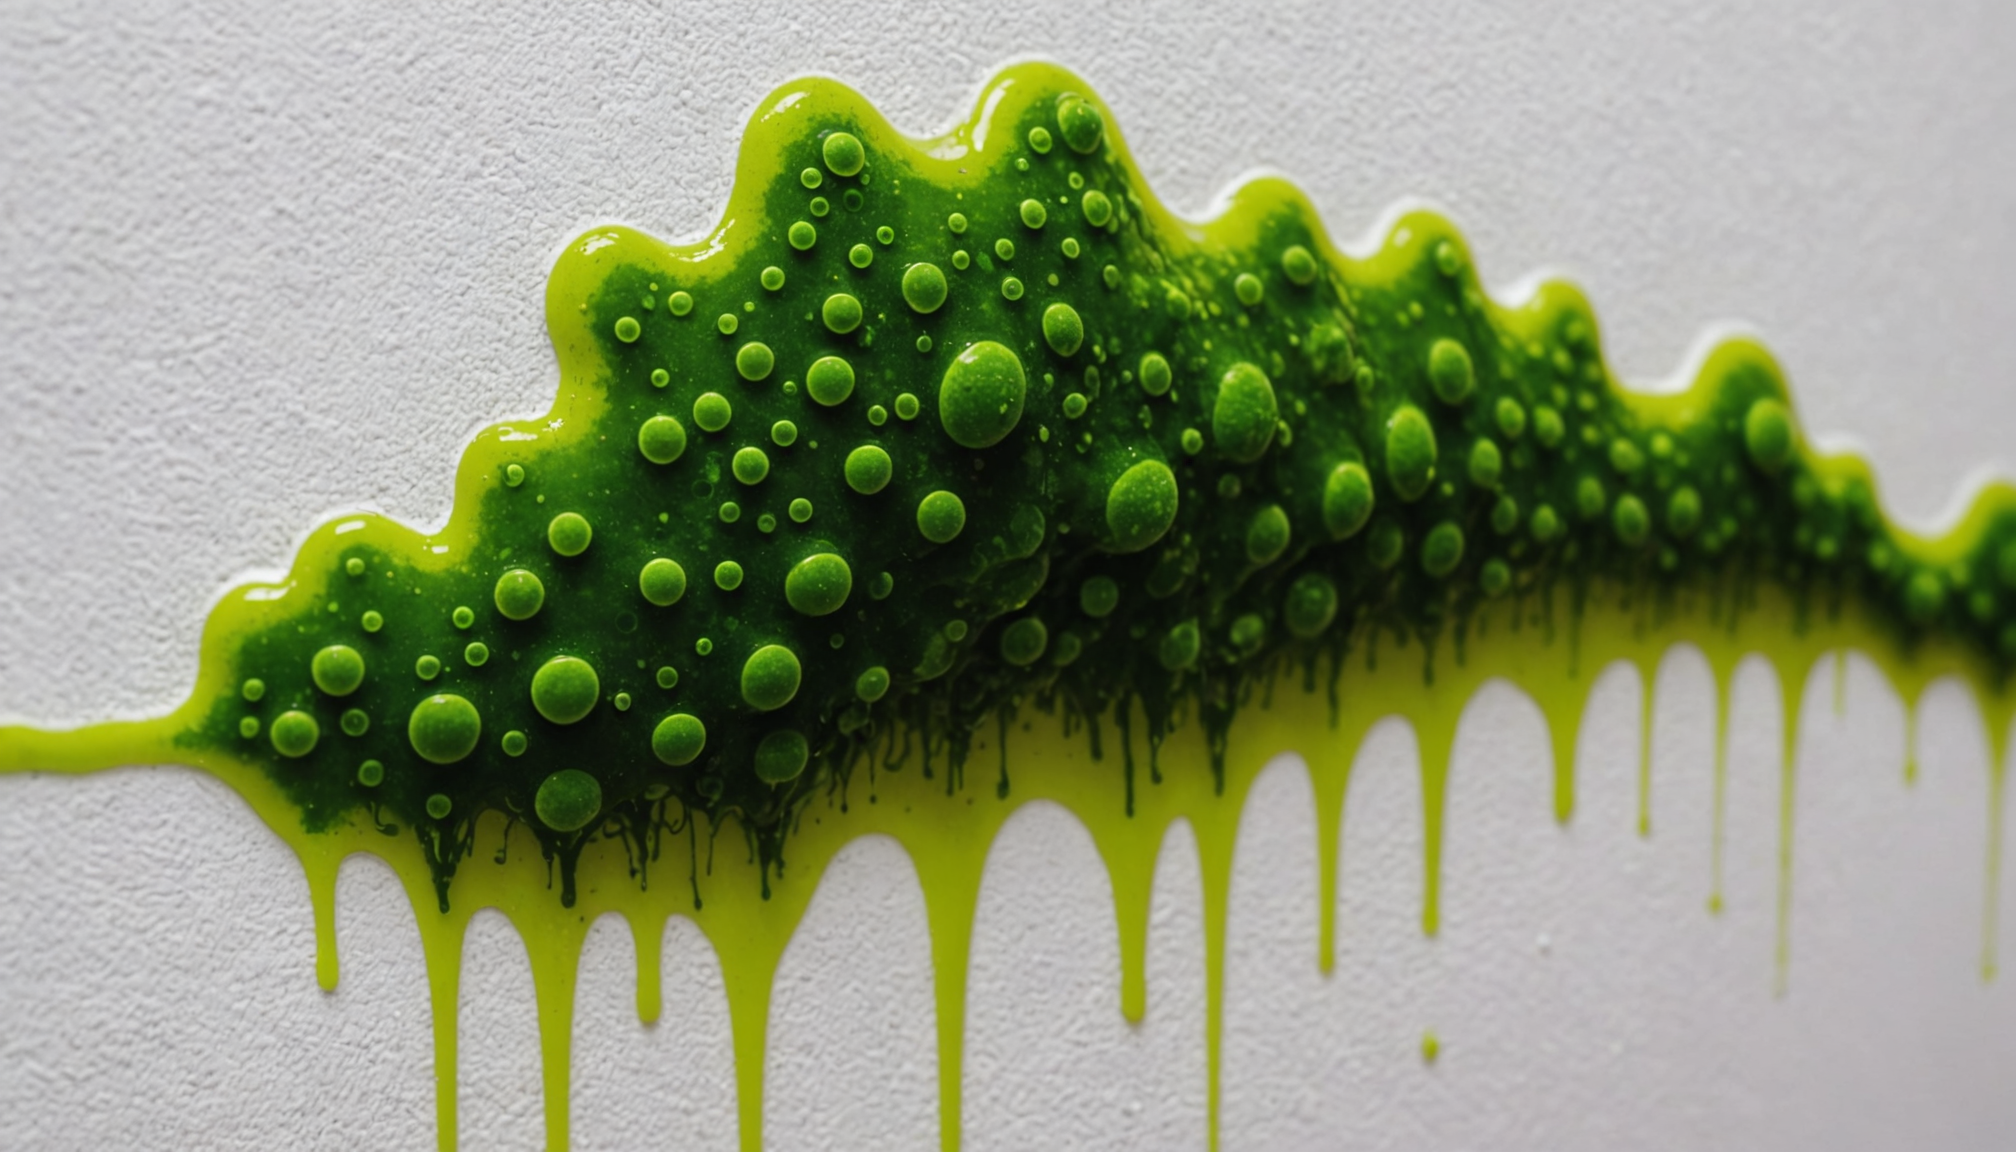
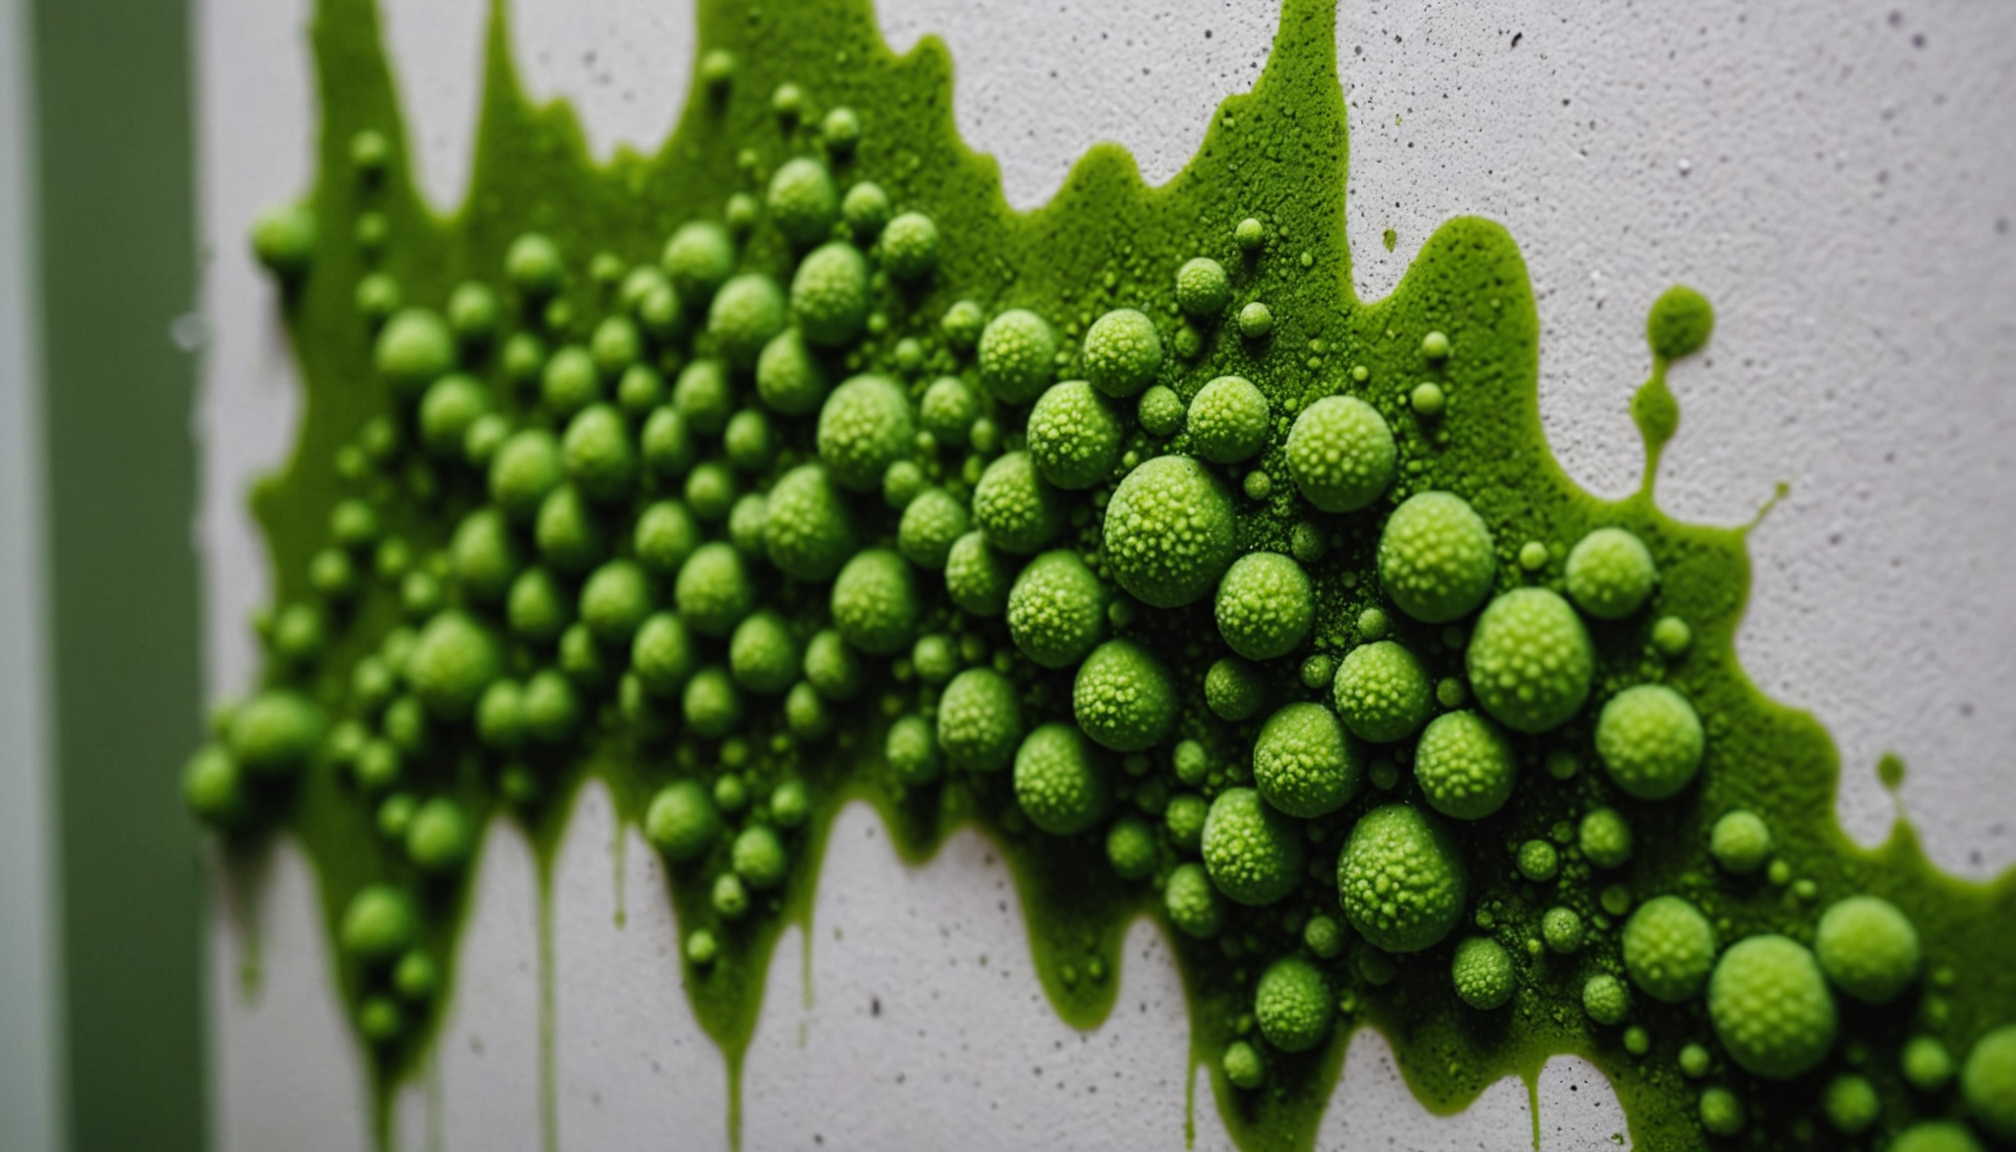
The most frequently encountered household molds include Aspergillus, which appears in various colors from green to gray; Cladosporium, typically olive-green to brown-black; and Stachybotrys chartarum (black mold), which has a distinctive dark green or black color and slimy texture. Dr. Michael Crane, an indoor air quality specialist, notes that while some molds may look similar, their health implications can vary significantly.
Here are the key visual indicators of common household molds:
- Aspergillus: Often found on foods, air conditioning systems, and in basements
Appears as gray, green, or white patches, sometimes with a powdery texture - Penicillium: Commonly seen on wallpaper, decaying fabrics, and in carpets
Usually blue or green, with a velvety texture - Alternaria: Frequently appears in damp areas like showers and under sinks
Dark brown or black in color, with a fuzzy or wooly texture - Cladosporium: Thrives in both warm and cold conditions
Appears olive-green to brown-black, with a suede-like texture
Research from the Centers for Disease Control and Prevention (CDC) indicates that approximately 50% of homes have some form of mold problem. Most can be identified by their distinctive appearance and growth patterns. Look for discoloration on walls, ceilings, or surfaces, particularly in areas with high moisture levels. A musty odor often accompanies mold growth, even if it’s not immediately visible.
Testing kits are available for precise identification, but according to the EPA’s safety tips, it’s generally unnecessary to identify the specific type of mold for removal purposes. However, if the affected area exceeds 10 square feet or if you have health concerns, consulting a professional for proper identification and remediation is recommended.
Be particularly vigilant about dark-colored molds in damp areas, as these may indicate more hazardous varieties that require professional intervention. The DIY vs professional decision often hinges on the type of mold present and its extent, with darker varieties typically warranting expert attention.
Safe mold removal techniques for small areas
For areas under 10 square feet, you can safely tackle mold removal using specific household cleaning solutions and proper techniques. Start by mixing one cup of borax or white vinegar with one gallon of water, or create a solution of one part hydrogen peroxide (3%) to two parts water. These natural alternatives are effective while being less harsh than bleach-based products.
Before beginning the cleanup process, ensure proper ventilation by opening windows and using fans to direct air outdoors. Apply your chosen cleaning solution generously to the affected surface using a spray bottle, allowing it to sit for 15-20 minutes. Scrub the area thoroughly with a stiff brush, working from the outside edges inward to prevent spore dispersal. Follow up by wiping with clean, damp cloths and thoroughly drying the area.
For porous materials like drywall or carpet, the mold cleanup approach differs significantly. If these materials show signs of mold growth, they often need to be cut out and replaced rather than cleaned, as spores can penetrate deeply into the material. When dealing with wooden surfaces, sand the area after cleaning to remove any remaining mold residue, then apply a fungicidal protective coating.
Regular monitoring of the cleaned area is essential for at least two weeks following treatment to ensure the mold hasn’t returned. If regrowth occurs, this might indicate a deeper moisture issue that requires professional assessment. Remember that safety tips for DIY removal include never painting or caulking over moldy surfaces, as this merely masks the problem rather than solving it.
- Always test your cleaning solution on a small, inconspicuous area first to prevent surface damage
- Never mix cleaning products, especially bleach and ammonia, as this can create dangerous fumes
- Document the extent of mold growth with photos before cleaning, which can be useful for insurance purposes or if professional help becomes necessary
- Clean tools thoroughly after use and dispose of any materials used in sealed plastic bags
When to call professional help
Many homeowners significantly underestimate the scope and severity of mold infestations, leading to potentially hazardous DIY attempts. Understanding when professional intervention is necessary can prevent health risks and ensure effective mold cleanup. The DIY vs professional decision becomes clear in several specific situations.
Experts recommend calling professionals immediately when:
– The affected area exceeds 10 square feet
– Mold is found inside HVAC systems or air ducts
– The infestation resulted from contaminated water (sewage backup or flooding)
– Mold growth is discovered inside walls or beneath floors
– You experience health symptoms like persistent coughing or respiratory issues
– The mold returns despite previous cleanup attempts
A common mistake is attempting to handle large-scale infestations independently, often leading to incomplete removal and spreading of spores throughout the home. According to industry safety tips, disturbing extensive mold growth without proper containment can release millions of spores into the air, potentially creating a more significant problem.
Another frequent error is using inappropriate cleaning methods on specialized surfaces. For instance, attempting to clean moldy insulation rather than replacing it, or using bleach on porous materials where it can’t effectively penetrate. Professional remediation teams have access to specialized equipment and industrial-grade solutions that aren’t available to consumers.
Hidden mold poses a particular challenge. Many DIY enthusiasts miss the signs of structural mold, focusing only on visible surface growth. Professionals use moisture meters and thermal imaging cameras to detect concealed problems, ensuring comprehensive treatment. They also understand proper containment protocols, preventing cross-contamination during the removal process.
Timing is crucial – waiting too long to call professionals can result in extensive structural damage and increased remediation costs. Insurance companies often require professional documentation and remediation for mold-related claims, making DIY attempts potentially costly in the long run.
The presence of multiple types of mold or toxic varieties requires professional expertise. While some household molds are relatively harmless, others can cause serious health issues. Professional testing can identify dangerous species and determine the appropriate removal protocol.
Essential safety equipment and supplies
Before tackling any mold cleanup project, having the right safety equipment and supplies is crucial for protecting your health and ensuring effective remediation. A comprehensive toolkit combines personal protective equipment (PPE) with specialized cleaning materials.
Start with respiratory protection – an N-95 respirator mask or better is essential, as standard dust masks don’t provide adequate protection against mold spores. Goggles with no ventilation holes prevent spores from entering your eyes, while long rubber gloves extending to mid-forearm protect your skin from both mold and cleaning solutions.
Your cleaning supply arsenal should include:
– Heavy-duty plastic sheeting (6-mil thickness)
– Professional-grade fungicide or EPA-registered disinfectant
– Multiple spray bottles for solution application
– Disposable cleaning cloths or paper towels
– Heavy-duty garbage bags
– HEPA vacuum for final cleanup
– Moisture meter to verify surfaces are thoroughly dried
Safety tips for equipment maintenance include regularly replacing respirator filters, disposing of used protective gear in sealed bags, and never reusing cleaning materials between different areas to prevent cross-contamination.
Essential measuring and documentation tools:
– Humidity meter to monitor moisture levels
– Digital camera for before/after documentation
– Flashlight for inspecting dark spaces
– Thermometer to track temperature conditions
When considering DIY vs professional approaches, proper equipment can make the difference between safe and hazardous removal attempts. Invest in commercial-grade containment materials like polyethylene sheeting and professional tape to seal off work areas effectively.
Store all supplies in a dedicated container, clearly labeled and kept away from living spaces. Replace any equipment showing signs of wear or contamination immediately. Remember that cutting corners on safety equipment can lead to exposure risks and incomplete remediation, potentially requiring costly professional intervention later.
Keep a detailed inventory of your supplies and check expiration dates regularly. Maintaining properly functioning equipment is as important as having it in the first place. With the right tools at your disposal, you’re well-equipped to handle appropriate DIY mold situations safely and effectively.
Prevention and moisture control methods
- How can I prevent mold from growing in my bathroom?
- Install a properly sized exhaust fan and run it during showers and for 30 minutes afterward. Keep surfaces dry by using a squeegee after showering and fix any plumbing leaks immediately.
- What’s the ideal indoor humidity level to prevent mold growth?
- The EPA recommends maintaining indoor humidity levels between 30-50% to prevent mold growth. Use a dehumidifier in problem areas and monitor levels with a humidity meter, especially during humid seasons.
- Do air purifiers help prevent mold?
- While air purifiers with HEPA filters can help remove mold spores from the air, they don’t address the root cause of mold growth. The key to prevention is controlling moisture sources and ensuring proper ventilation.
- How often should I inspect my home for potential mold problems?
- Conduct thorough inspections of moisture-prone areas at least quarterly, with additional checks after heavy rains or plumbing issues. Pay special attention to basements, crawl spaces, and areas around windows and pipes.
- What’s the best way to prevent mold in my closets?
- Leave space between clothes and walls to promote air circulation, and use moisture-absorbing products like silica gel or desiccant packs. Consider installing a small fan or dehumidifier if the closet is in a damp area of your home.
The effectiveness of mold cleanup often depends on preventing its return through proper moisture control. Install vapor barriers in crawl spaces and ensure proper drainage around your home’s foundation. Use dehumidifiers in basements and other damp areas, maintaining humidity levels below 50%. Proper ventilation is crucial – install exhaust fans in bathrooms and kitchens, venting them directly outdoors, not into attics or crawl spaces.
Remember these safety tips: address water leaks immediately, remove wet items promptly, and ensure good air circulation throughout your home. Consider applying mold-resistant primers when repainting, especially in moisture-prone areas. Regular maintenance of HVAC systems, including cleaning condensate lines and changing filters, helps prevent mold growth.
The DIY vs professional debate often centers on prevention strategies. While many preventive measures can be handled by homeowners, some situations require expert intervention:
– Installation of proper drainage systems
– Crawl space encapsulation
– Foundation waterproofing
– Professional-grade ventilation solutions
Regularly inspect common problem areas:
– Around windows and doors for condensation
– Under sinks and behind appliances
– Basement walls and floors
– Attic spaces for proper ventilation
– Gutters and downspouts for proper drainage
Monthly maintenance tasks include checking and cleaning gutters, ensuring downspouts direct water away from the foundation, and inspecting seals around windows and doors. Consider installing moisture sensors in prone areas for early detection of potential problems.